

How To Build A Simple Arduino Robotic ARM( Advanced RISC Machines)
How To Build A Simple Arduino Robotic ARM( Advanced RISC Machines) for final year Student :Robotic Arm is one of the popular concepts in the robotic community.The first thought for a beginner would be constructing a Robotic Arm is a complicated process and involves complex programming. In this project, we have Build A Simple Arduino Robotic ARM, which is fully automated to do certain Engineering ProjectsWe will see a step by step construction of the Robotic Arm. The construction made in this project and demonstrated in this blog is as per our convenience and just to give an idea to the reader. You do not have to follow the exact same steps, if you are planning to build one.
Source of Power and Drives
Power sources are indispensable while designing robotic systems. Hence, the selection of power sources should be the primary focus owing to its impact on the mechanism, packaging, weight and size of the system. There are three types of sources of power devices for robotic systems. These are pneumatic; hydraulic or electro hydraulic; and electric.
Applications
Applications of pick and place robotic arm are extensive and diverse. They are used from industries to hospitals and can be potentially used from restaurants to battle fields.
3D Printable Robot Arm

3D Printable Robot ArmThe industrial robots are a source of inspiration for many robot builders. Like many other projects developed in recent years, small scale industrial robots have appeared with 3D print chassis.The robotic arm can lift about 2kg, more than enough for simple manipulation tasks of small items.The design is borrowed from industrial robots, but some features of these do not apply to this small robot. One of them is safety. The reduced dimensions make it a safe robot in any of its uses.
Make Wired Robotic Arm Edge to “Wireless” with DIY Arduino + XBee

Robotic Arm controlled Wireless with ArduinoBased on an Arduino clone, this project is not 100% built from scratch since it uses the well-known OWI Robotic Arm Edge. In this project, the commercial kit was improved with an additional system to control the arm.I choose to include in this article this project because it can be a good start for those who don’t have enough mechanical skills to build at home the chassis of the arm.The project was built in four hours. All the building details, schemes, and programs are on Instructables.In few words, in this project is modified the ‘Robotic Arm Edge’ commercial kit to be controlled wirelessly using the XBee module or as an alternative to a Bluetooth system. The arm has five motors controlled by three L293D motor drivers.In the case of using Arduino or others Arduino clone, you needed to be sure that the motor controller is compatible with the controller you’re using.Below are listed all the parts needed to build a custom version of the ‘Robotic Arm Edge’ kit.
- Robot arm kit
- Single board computer: Arduino Uno;
- Motor Driver: H-Bridge Motor Driver 1A or L293D;
- Resistor: 1K Ohm 1/4-Watt Carbon Film Resistor or res 1K OHM 1W 5% axial;
- LED: 3mm Hi-Eff Red diffused;
- Slide Switch: SW SLIDE DPDT 6VDC 0.3A PCMNT;
- Resistor: 16-Pin Retention Contact;
- PC board: Multipurpose PC Board with 417 Holes;
- XBee: 2 x XBee 1mW Wire Antenna – Series 1;
- XBee Adapter: 2 x XBee Adapter kit – v1.1;
Alternativel Bluetooth modem: Blue SMiRF Gold or BlueSMiRF Silver
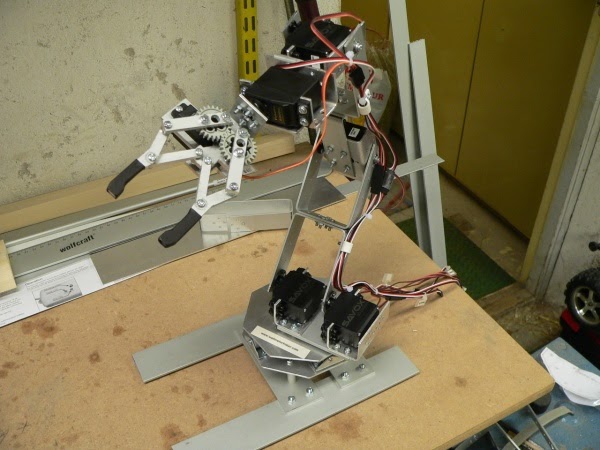
Building a robot armBuilding a robot armFor this project, the designer uses aluminum sheets, servo motors, and the Arduino Leonardo board.The final project uses 3 different L-shaped brackets. One L-shape bracket is used for the wrist, another shape bracket for the mid – arm and the end-effector is also based on an L-shaped bracket.For the robotic arm is used up to 5 servos strong enough to apply a high amount of pressure.From this guide, you can learn also few tips and tricks that can make your work easier when you building at home robotic arms using metal sheets.
Components:
- Servos: 5 x SAVÖX SC-0252MG, 1 x Fubata S3003;
- End effector servo: 1x DGServo S05NF;
- Single board computer:Arduino Leonardo;
- Sheet of 2mm aluminium;
A Cheap and Easy To Build 3D Printed Robot Arm
 A Cheap and Easy To Build 3D Printed Robot ArmBuilding a robotic arm is not a rocket science, but you need to have some abilities plus some money to spend. Like most of the projects in this article, this arm also has a structure printed entirely with a 3D printer.The arm is controlled by an Arduino board. For the arm movements on vertical and horizontal, the designer uses eight servo motors. The power supply for servo motors and Arduino board is 6V and can support a load of up to 2A.
Build a Robotic Arm for the Science Olympiad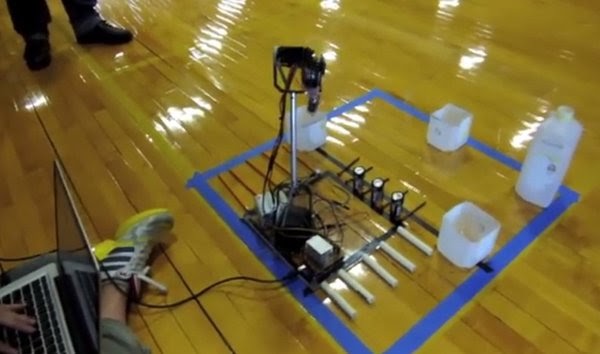
Below, I explore the components of the arm built for Robotics Olympiad.
- Robot arm kit: AL series;
- Single board computer: Arduino Uno;
- Servos: 2xHitec 31805S HS-805BB, 3x Hitec HS645MG;
- Batteries: 2×7.4V LiPO;
Trainable Robotic Arm
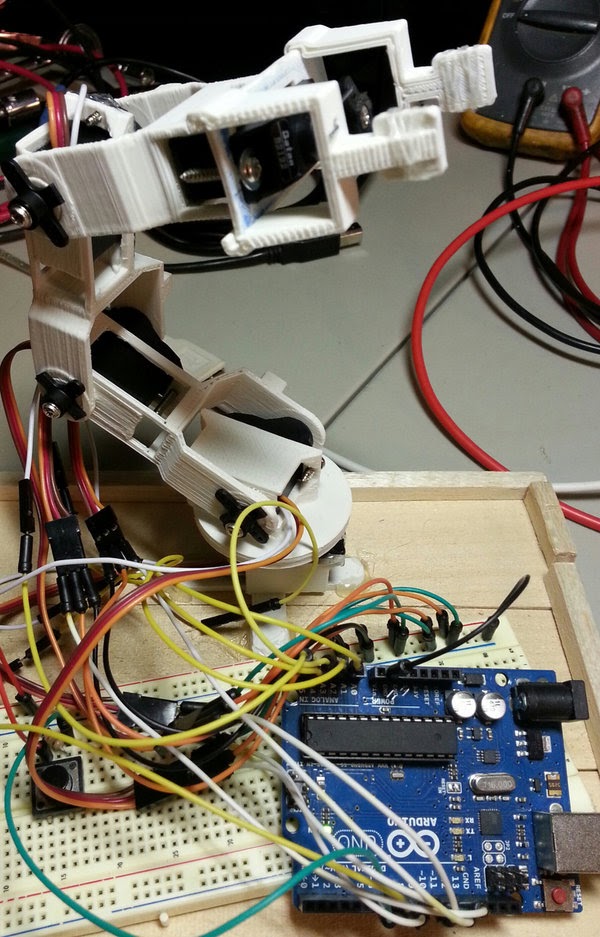
Trainable Robotic ArmThis robotic arm is capable of recording the motions while the user moves his arms and grippers. The trained robot arm has embedded analog feedback servos designed for efficient operations and a really good system to remember the operations. Beside the tools needed for electronic components, you need also a 3D printer and a little bit of patience to have all the components ready for use.
To build this project at home, you will need the following components:
- Single board computer: Arduino Uno;
- Micro Servo: 5 x Analog Feedback Micro
- Servo;
- Button switch: 2 x Tactile Button switch (6mm) ;
- Resistors: 1 x E-Projects – 1k Ohm Resistors;
- Breadboard: Half-size breadboard;
- Jumper wires: Premium Male/Male Jumper Wires;
How to Build a Robotic Arm that Tracks Your Hand Movements

Robotic Arm that Tracks Your Hand MovementsThis guide shows you how to build a robot arm able to track your hand movements using the Leap Motion controller and an Arduino boardWith basic skills for picking up and move objects, the arm is pretty accurate and moves very fast for a DIY robotic arm.You can build at home the robotic arm using a sheet of aluminum and two plastic spoons for the gripper to grasp objects.
Components:
- Single board computer: Arduino Uno;
- Servos: Hitec HS-422, HS-755HB, HS-81, and RadioShack Standard Servo;
- The base: Base Rotate Kit with HS-422 servo
- Controller: Leap Motion Controller
Robotic arm projects
- Gesture controlled robotic arm
- Voice controlled robotic arm
- Pick N Place Robotic Arm and Movement Controlled by Android
- Remote Controlled Pick & Place Robotic Vehicle
- Color sensing robotic arm for sorting objects
- Hydraulic powered robotic arm
- Bionic hand prosthesis model
- Scribing /writing robotic arm
- Coffee brewing robot
- Welding robotic arm